The Application Notices of Self Drilling Anchor Bolt
Time:2024-11-12From:sinorock View:
In modern construction and geotechnical engineering, the self-drilling anchor bolt (SDA) system has emerged as an invaluable solution, especially in projects requiring robust support in challenging ground conditions. From tunnels and hydroelectric plants to mining operations and civil infrastructure, SDA systems are trusted for their ability to improve structural stability and prevent catastrophic failure in unstable geological formations. This article aims to provide a comprehensive guide to the application notices for self-drilling anchor bolts, with a detailed examination of each step and precaution necessary to maximize their effectiveness.Understanding Self-Drilling Anchor Bolts
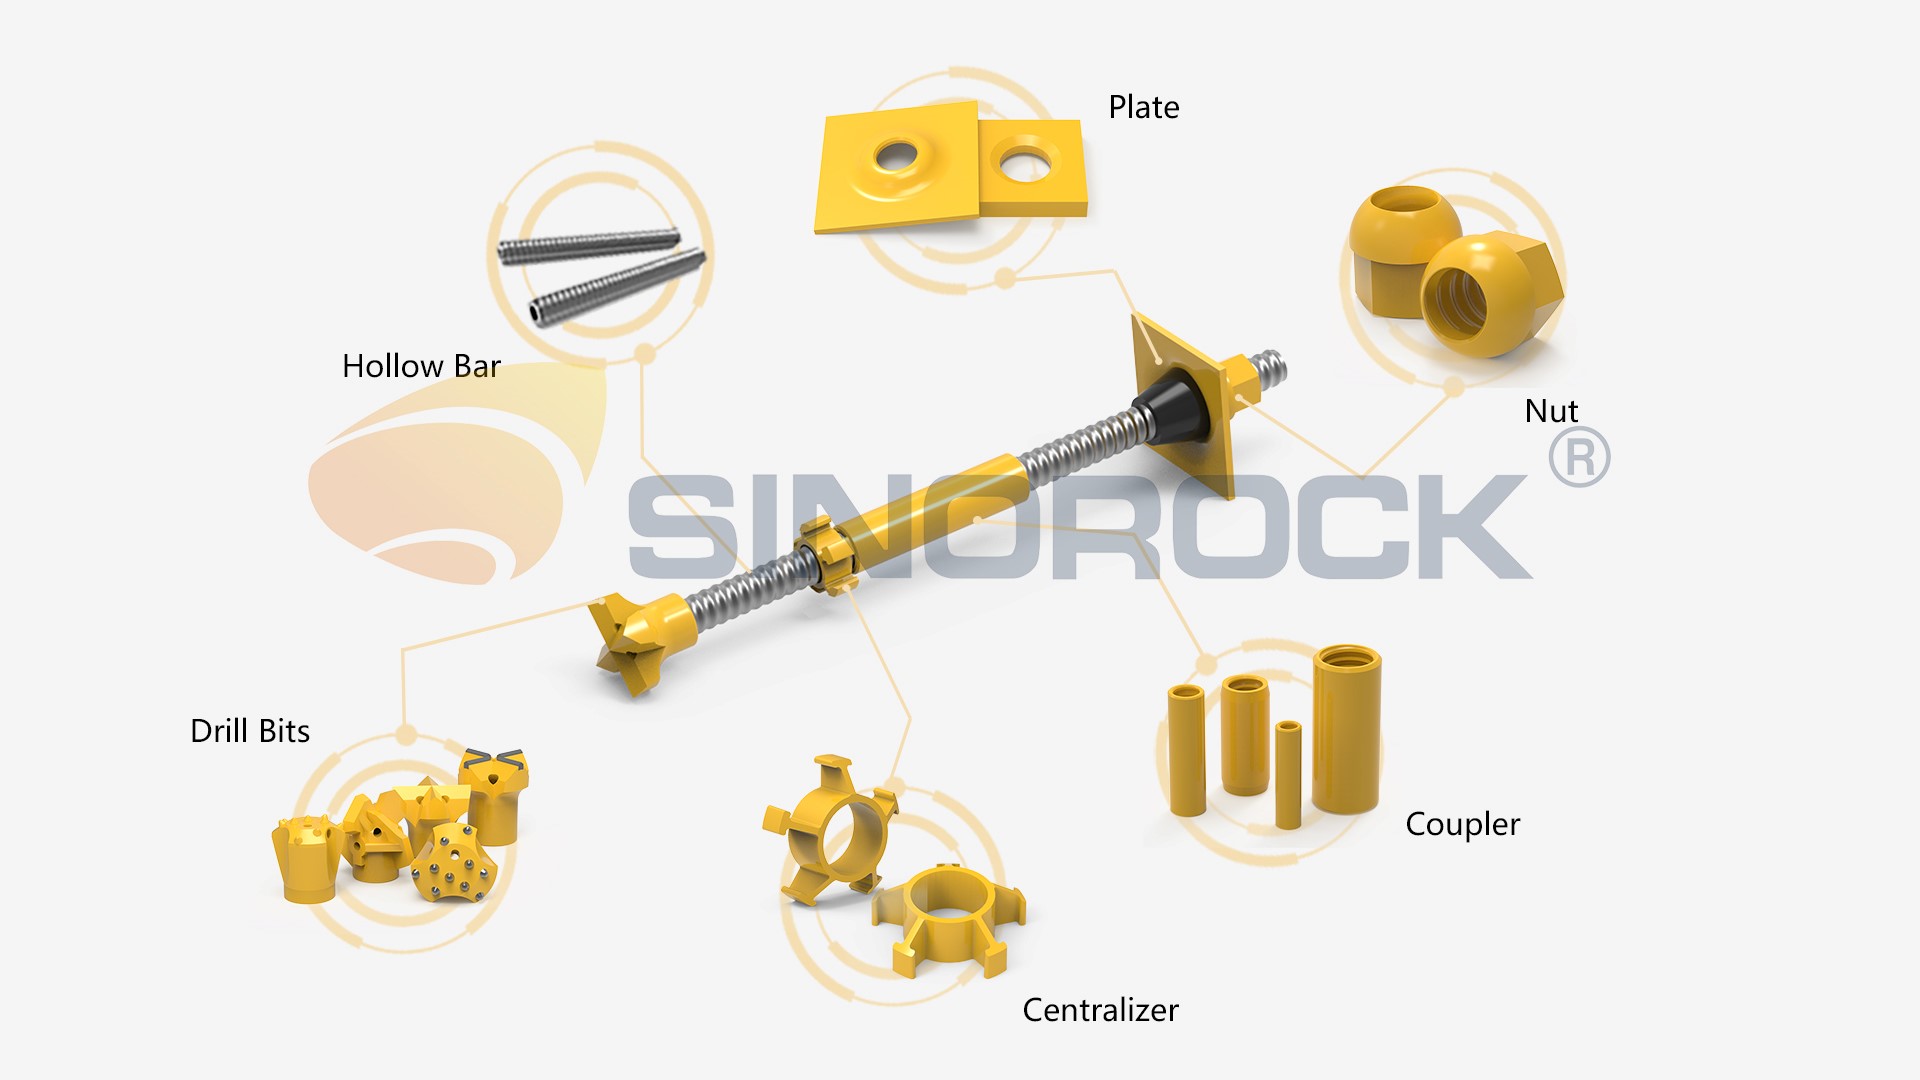
The self-drilling anchor bolt system integrates drilling, anchoring, and grouting into a single process. Unlike traditional anchoring methods that require pre-drilled holes, self-drilling anchor bolts drill and install the anchor bolt simultaneously, making the system efficient for use in loose and fractured rock, unstable soil, and other demanding ground conditions. Their core advantage lies in their adaptability and reliability, allowing projects to progress safely and without undue delay.
By addressing typical issues that arise in construction, such as rock movement, groundwater infiltration, and ground deformation, this anchoring support system provide an effective means of ensuring structural stability. However, to leverage their benefits fully, several application best practices must be observed.

1. Ensuring Adequate Temporary Support to Prevent Primary Structure Interference
When utilizing self-drilling anchor bolts, it is critical to protect the primary structure from disruptions caused by drilling activities. Here's how to ensure safety and stability:
- Temporary Support Installation: Before initiating drilling operations, temporary support must be erected around the work area. This support is particularly crucial in settings like tunnels or large-scale excavations, where vibrations from drilling can unsettle surrounding rock or soil.
- Load-Bearing Calculations: Assess the load-bearing capacity of the primary support to prevent collapse or shifts during the drilling process. Installing temporary support that accounts for potential movement in all directions can safeguard the main structure from unforeseen stresses.
- Safety Inspections: Regular inspections of both primary and temporary supports during installation are essential to confirm stability and adjust temporary support placements as needed.
Temporary support not only shields the primary structure but also provides a safer environment for workers, reducing the risk of accidents or costly project delays.
2. Accurate Marking and Immediate Hole Cleaning for Precise Installation
Self-drilling anchor bolt installation demands careful planning and precise placement to maximize stability and load distribution. Here’s how to achieve optimal accuracy:
- Pre-Drilling Marking: Use bright red paint to mark the anchor bolt locations on the initial surface. This helps to prevent drilling errors and ensures that each anchor bolt is strategically positioned according to the project’s design. Each mark should be clear, easily visible, and placed only after thorough measurement and alignment checks.
- Hole Cleaning After Drilling: Once a hole has been drilled, immediate cleaning is essential. Residual debris can hinder the bonding of grout to the surrounding surface, reducing the anchoring effect. Use air or water flushing to clear the hole of any loose particles or dust immediately following drilling. This ensures a clean surface for optimal grout adhesion, leading to a more secure installation.
A well-marked, clean hole allows for the proper placement of the anchor bolt, enabling it to function with maximum efficiency in reinforcing the surrounding ground.
3. Stop-Grouting Plug and Rubber Ring Selection
Effective grouting is crucial to self-drilling anchor systems, ensuring stability and providing a tight bond between the anchor and surrounding material. Follow these steps to ensure the grouting process is both efficient and effective:
- Installation of a Stop-Grouting Plug: Place a stop-grouting plug at the orifice of the drilled hole. This plug not only helps control the amount of grout but also prevents unnecessary leakage. Position the plug precisely to maintain pressure within the hole, which enhances the grout’s penetration into fissures and fractures within the rock.
- Selecting the Right Rubber Ring: Ensure that the rubber ring around the orifice matches the diameter of the anchor bolt. A properly sized rubber ring minimizes grout leakage, maintains pressure within the hole, and allows for efficient grout flow around the bolt shaft. Using an undersized or oversized ring can lead to grout waste or inadequate pressure, compromising the anchor’s stability.
Correct plug and rubber ring installation are essential to achieving a uniform grout distribution and, ultimately, to providing robust structural support.
4. Water Seepage Management: Divert and Seal Effectively
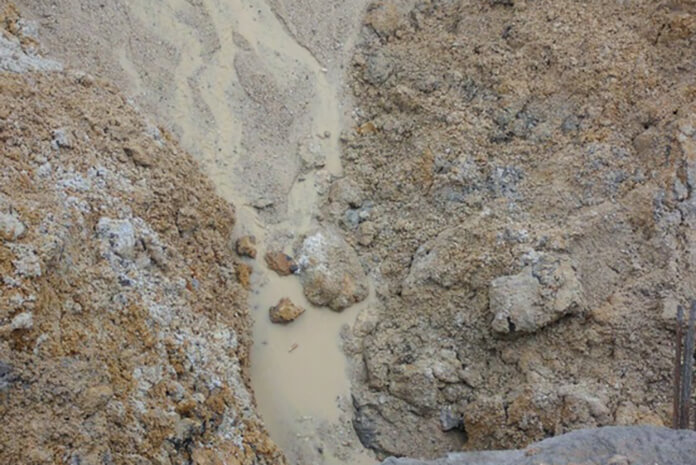
Water seepage is a frequent challenge in ground anchoring projects, as groundwater can weaken the grout’s bond and impact structural integrity. Proper water management is essential for a durable self-drilling anchor installation:
- Initial Water Diversion: In cases where seepage is substantial, drill an additional hole to redirect water away from the primary anchor location. This step prevents water from directly interfering with the anchor bolt installation and grouting.
- Plugging Cracks: After diverting water, seal any cracks or openings near the installation site using cotton yarn or wooden wedges. This prevents further water intrusion into the drilled hole, maintaining grout integrity during the curing process.
- Assessing Long-Term Water Management: Depending on groundwater levels and soil conditions, it may be necessary to implement additional drainage systems to protect the anchors over time. Consider drainage solutions that align with the specific geological characteristics of the project site.
By effectively managing water seepage, you safeguard the grout’s strength and ensure the longevity of the installed anchor bolts.
5. Controlling Drilling Speed to Avoid Clip-Drill Phenomenon
Drilling speed is a critical factor in ensuring efficient anchor installation. Incorrect speed can lead to complications like the clip-drill phenomenon, where the drill bit becomes jammed in mud or sandy layers. Here’s how to regulate speed effectively:
- Uniform Drilling Speed: Maintain a consistent drilling speed throughout the installation. Inconsistent speed can lead to material buildup around the drill, particularly in mud or loose sand, increasing the risk of jamming.
- Adjusting Speed in Unstable Strata: When drilling through layers of mud, sand, or other soft materials, reduce the speed slightly to minimize friction and prevent the bit from becoming trapped. Monitor the drill’s behavior, adjusting speed as necessary to ensure smooth progress.
- Equipment Calibration: Regularly calibrate drilling equipment to verify that speed settings remain accurate. Calibration helps ensure that the drill speed is consistent and responsive to different ground types, minimizing the likelihood of jamming.
Proper drilling speed control not only reduces equipment wear but also increases efficiency, enabling timely project completion with fewer interruptions.
6. Monitoring and Managing Grout Leakage
Grouting is a critical process in self-drilling anchor installation, as it bonds the anchor bolt to the surrounding material. However, grout leakage is a common issue that can reduce the anchor’s effectiveness. Here’s how to monitor and manage this potential problem:
- Immediate Leakage Detection: Inspect the orifice and areas with thin cover during grouting. Signs of grout leakage may appear quickly, and it’s essential to halt grouting immediately if leakage is detected.
- Batch Grouting Technique: If leakage occurs, adopt a batch-grouting approach. This method involves injecting grout in smaller batches, allowing the initial grout to set partially before continuing. Batch grouting helps reduce the flow rate and pressure, minimizing the risk of further leakage.
- Improving Sealant Quality: Use high-quality sealants to block gaps at the orifice and in areas prone to leakage. Proper sealing helps direct grout flow into the intended zones, providing a stronger, more uniform anchor.
Efficient grout management is vital to maximizing the anchor’s stability and durability, ensuring that the structure remains safely supported.
7. Final Checks: Ensuring Safety and Reducing Resource Waste
Conducting thorough inspections and checks at every stage of self-drilling anchor installation is essential for both safety and cost-efficiency. Failure to adhere to quality control measures can result in resource wastage, increased project costs, and potential safety hazards. Here’s how to perform these checks effectively:
- Pre- and Post-Installation Inspections: Inspect each stage of the installation process, from drilling to grouting. Ensure that holes are clean, the stop-grouting plug is secure, the grout is adequately set, and water seepage is controlled.
- Detailed Documentation: Maintain comprehensive records of each installation, including drilling speeds, grout amounts, and any adjustments made. Documentation helps track performance and identify potential issues in future projects.
- Periodic Maintenance: Over time, recheck installed anchors to monitor for signs of degradation, such as grout cracking or bolt displacement. This is especially crucial in high-stress environments like tunnels or mines, where ground pressure can shift over time.
These final checks and periodic maintenance steps are essential to ensuring that the SDA system performs reliably over the long term, preventing potential safety risks and unexpected repair costs.
Conclusion: The Importance of Careful Planning in SDA Applications
The application of self-drilling anchor bolts requires careful planning, meticulous installation, and ongoing maintenance to ensure optimal performance. Each of the precautions and steps outlined above addresses a specific aspect of the installation process, from initial drilling to long-term stability. By following these best practices, construction and geotechnical engineers can leverage the full potential of SDA systems, enhancing the safety and stability of their projects while minimizing costs and delays.
In an industry where efficiency and safety are paramount, self-drilling anchor bolts stand out as a critical solution. However, their effectiveness is dependent on careful adherence to each application notice. As self-drilling technology continues to evolve, these practices remain essential for successful, reliable installations across various construction sectors.
latest news
-

- 3 Crucial Factors That Impact the Quality of Self-Drilling Hollow Bolts
- Time:2025-01-26From:This Site
- As we all know, the quality of the self-drilling hollow bolts is vital to the whole project. It determines if the project is safe for the people in future use. Then, what will affect the quality of the self-drilling hollow bolts?
- View details
-

- Self-Drilling Anchor Bolt Construction in Complex Geological Slope
- Time:2025-01-24From:This Site
- During construction, Self-drilling hollow anchor bolt integrates drilling, grouting and anchoring functions, which significantly improves drilling efficiency. And under the action of pressure pump, the grouting in the rock strata and voids is full, which ensures the grouting thickness and anchoring effect.
- View details
-

- How Does Self-drilling Rock Bolt Drill in Quicksand Geological Condition?
- Time:2025-01-19From:This Site
- This in-depth guide explores how self-drilling rock bolts function in quicksand geological conditions, covering the challenges, construction methods, and best practices for ensuring effective anchorage in unstable, fluidic soil layers.
- View details
-

- Quality Control: the Vital Factor of A SDA Bolt Factory
- Time:2025-01-09From:This Site
- Sinorock’s comprehensive quality control system, from supplier management to outgoing inspections, ensuring the highest standards for self-drilling anchor bolts in construction.
- View details
-
.png)
- International Women's Day with Strawberry-picking
- Time:2024-03-09From:This Site
- Marked the annual observance of International Women's Day, and to commemorate this significant event, Sinorock organized a special strawberry-picking event exclusively for its female employees.
- View details
-

- Celebrate the 74th anniversary of the founding of the People's Republic of China
- Time:2023-10-01From:This Site
- On October 1st every year, we observe the annual National Day, commemorating the birth of our beloved motherland.
- View details
-
.jpg)
- SINOROCK to Attend EXPOMINA PERÚ 2024 in Lima, Peru
- Time:2024-08-10From:This Site
- Sinorock to Attend EXPOMINA PERÚ 2024 in Lima, Peru
- View details
-
.jpg)
- SINOROCK to Participate in MINING AND METALS CENTRAL ASIA 2024
- Time:2024-08-08From:This Site
- SINOROCK to Participate in MINING AND METALS CENTRAL ASIA 2024
- View details
-

- SINOROCK Gears Up for UGOL ROSSII & MINING 2024 with Custom Mining Solutions
- Time:2024-05-15From:This Site
- SINOROCK is thrilled to announce its participation in the highly anticipated 32nd International Trade Fair for Mining Technology, UGOL ROSSII & MINING 2024. The event will take place at the Exhibition complex "Kuzbass Fair" in Novokuznetsk, Kemerovo region - Kuzbass, Russia, from June 4th to 7th, 2024.
- View details
 Download


